If you’re a fan of ambient lighting, chances are you’ve heard of Govee lights. These smart LED strips and bulbs have taken the home decor scene by storm, offering vibrant colors and customizable settings that can elevate any space. However, like all technology, things don’t always go as planned. Whether it’s connectivity issues or simply wanting to start fresh with your setup, knowing how to reset your Govee lights is essential.
Resetting govee lights might sound daunting at first, but it’s easier than you think. This step-by-step guide will walk you through the process so that you can get back to enjoying your beautifully lit environment in no time!
Reasons for Resetting Govee Lights
Govee lights are fantastic for creating ambiance, but there may be times when they act up. Resetting them can bring back their vibrant glow.
One common reason is connectivity issues. Sometimes, the lights might struggle to connect with your smart devices or Wi-Fi network. A reset can help establish a fresh connection.
Another scenario involves functionality glitches. If your lights fail to respond or behave erratically, this could signal a need for a reset.
Changing setups also calls for resetting Govee lights. Whether you’re rearranging furniture or moving to a new room, starting over ensures optimal performance in the new layout.
You might want to re-pair your remote control after replacing its batteries or if it loses sync with the light strip. Resetting makes it easier to reconnect and enjoy seamless operation again.
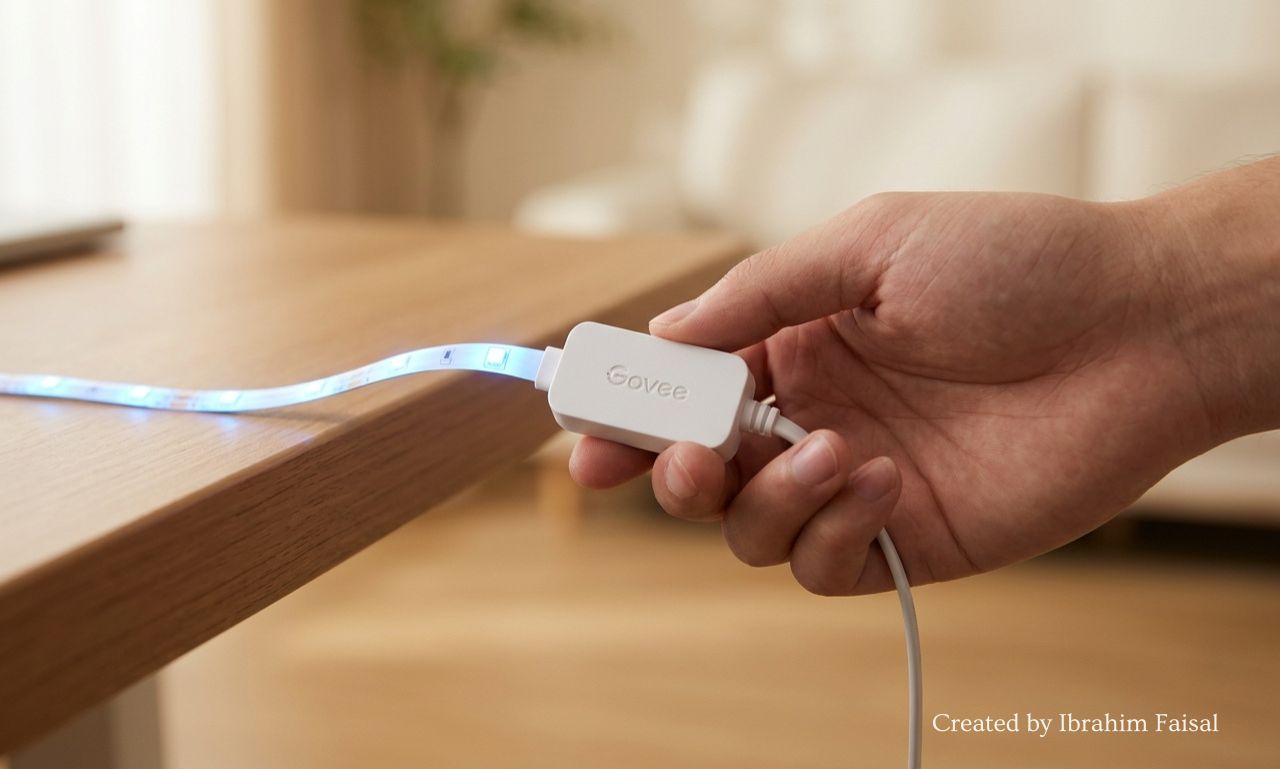
Step 1: Unplug the lights and control box
To begin the resetting process for your Govee lights, start by unplugging both the lights and the control box. This simple step is crucial to ensure that all components are powered down completely.
Locate the power source of your light setup. Gently pull out the plug from the wall socket or disconnect it from any extension cord you might be using. Be cautious while doing this; a firm grip can help prevent damage to wires.
Next, find where your control box connects to its power supply. Disconnect it in a similar manner, making sure you don’t tug at any cables too forcefully.
This brief moment of disconnection allows any lingering residual charge to dissipate, setting up for an effective reset process ahead. Taking these first steps with care will pave the way for smoother operation later on.
Step 2: Remove batteries from remote (if applicable)
Next, focus on the remote control. If your Govee lights come with a remote, it’s essential to remove the batteries during this reset process. This step might seem minor but can significantly impact the overall functionality.
Gently open the battery compartment located at the back of your remote. Depending on the model, it may slide off or require a bit of pressure to pop open. Take note of how the batteries are positioned; you’ll want to replace them in exactly that same orientation later.
Once you’ve removed them, set them aside safely. This small action helps ensure there’s no interference while you’re resetting your lights. Without power from the remote, you’ll have a clean slate for re-pairing once everything is plugged back in and ready to go.
Step 3: Wait for 30 seconds
After you’ve unplugged everything, it’s time to be patient. Waiting for 30 seconds might feel like a small eternity, but it’s crucial. This pause allows the lights and control box to reset their internal systems.
During this brief moment, take a deep breath. Reflect on how much fun your Govee lights bring into your space when they’re working perfectly. It’s easy to overlook these little details in our busy lives.
This waiting period helps clear any lingering settings or glitches that may have accumulated over time. It ensures that everything is fresh before you reconnect and start anew.
While you’re counting down those seconds, think about the vibrant colors you’ll soon enjoy again. The anticipation can make the process all the more exciting!
Step 4: Reconnect the lights and control box
Once you’ve waited the necessary 30 seconds, it’s time to bring your Govee lights back to life. Start by carefully reconnecting the lights to the control box. Ensure that all connections are secure and properly aligned.
Check for any visible damage on the wiring while you’re at it; this can sometimes be an overlooked part of troubleshooting. A loose connection could lead to issues down the line.
After securing everything, plug in the power source again. Watch as your Govee lights flicker back on, signaling that they’re ready for action once more. This step sets up a fresh start, paving the way for a seamless experience with your lighting setup.
Now that everything is plugged in and connected correctly, you’re one step closer to enjoying those vibrant hues or serene ambient glows once again!
Step 5: Press and hold reset button on control box (if applicable)
Once your Govee lights and control box are reconnected, it’s time to focus on the reset button. This step is crucial for ensuring that the lights return to their factory settings.
Locate the reset button on your control box. It’s often small but usually well-marked. Pressing this button can be a bit finicky, so make sure you have a steady hand.
Hold down the reset button for about five seconds. You might notice some flickering in the lights as they respond to this action. That’s perfectly normal and indicates that they’re resetting properly.
If there’s no response after holding it down, try again—sometimes it takes a couple of attempts to get it right. Patience is key here, especially when working with electronic devices!
Step 6: Pair remote with lights
Once your Govee lights are reconnected, it’s time to pair the remote with them. Start by ensuring that the batteries in your remote are fully charged and properly inserted. With everything ready, press any button on the remote to initiate pairing.
The lights should respond by flashing or changing colors briefly. This response indicates that they have successfully paired with your remote control. If you don’t see a reaction, make sure you’re within range of the control box and try pressing other buttons.
After successful pairing, take a moment to test different functions on your remote. Adjust brightness levels or switch between colors to confirm full functionality. By following these steps for resetting Govee lights, you’ll enjoy seamless lighting experiences once again!